Creamy Lemon Risotto
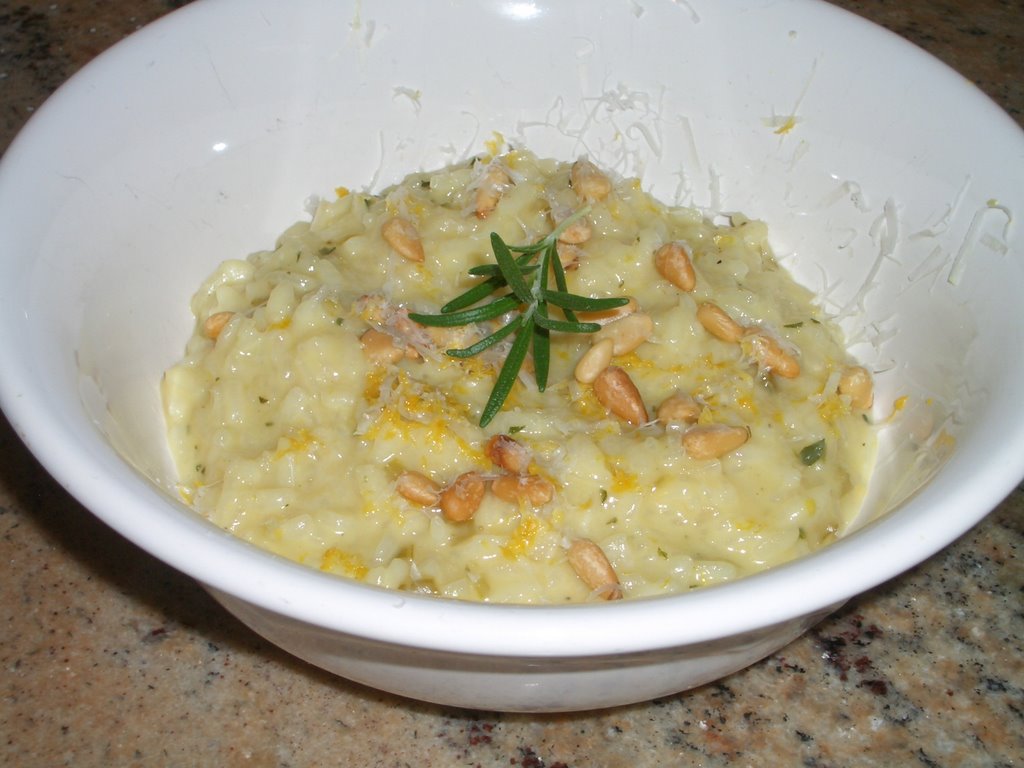
Creamy Lemon Risotto
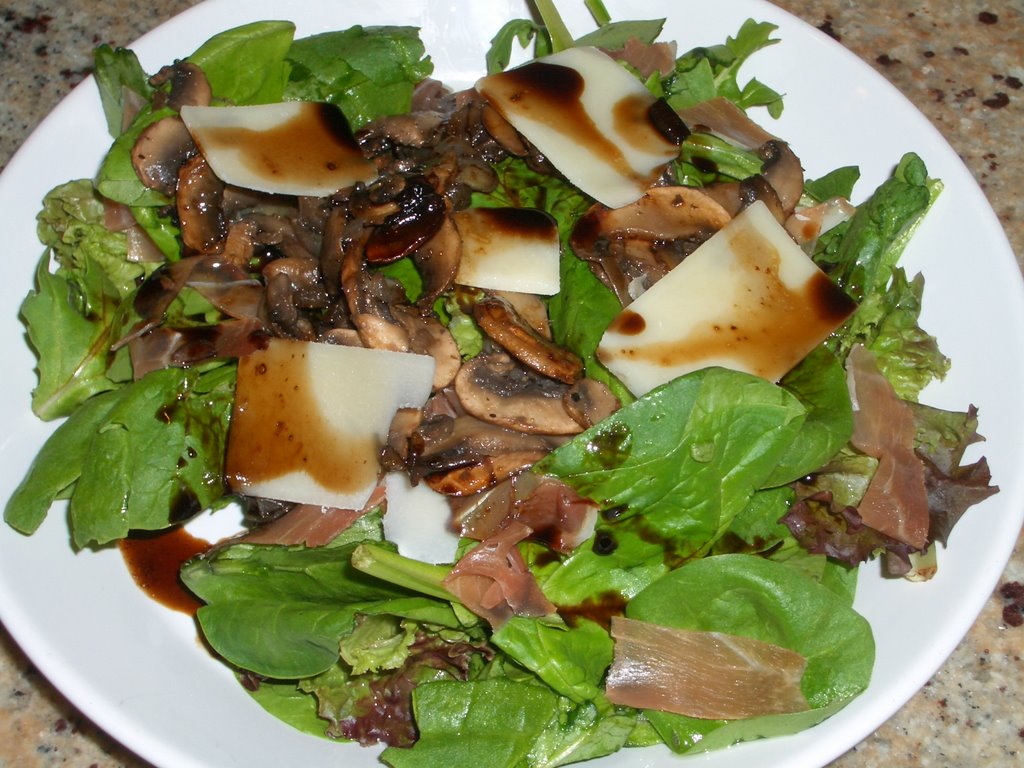
Nothing says comfort food to me like a creamy bowl of risotto. It truly gets a bad rap as being very fussy and time consuming which is complete hogwash. It takes only 30 minutes to cook and if you can stir, you can make a fabulous risotto. I have adapted my recipe from Nigella Lawson and Jaime Oliver. Once you learn to make the basic risotto, you can add any combination of ingredients to pair with any meal. Or do as I did tonight and eat risotto alone for din din. The key to success is stir, stir, stir and know when to call it quits - when the risotto is perfectly creamy and al dente. Wild mushrooms, rosemary and marscapone cheese are another great combination and completely change the flavor. Keep in mind that the risotto continues to absorb the liquid as it sits, so remove it from the heat just short of finished.
origin - Nigella Lawson and Jaime Oliver
difficulty - medium
Basic Risotto Recipe
5 cups strong chicken stock
1 tbsp olive oil
1 tbsp butter
2-3 shallots finely chopped
2 cloves garlic (optional)
2 stalks celery finely chopped
2 cups aborio rice
2 cups dry white vermouth or white wine
salt/pepper to taste *I only cook with kosher salt
Additions for Creamy Lemon Risotto
2/3 cup marscapone cheese
1/2 cup freshly grated parmesean cheese
zest and juice of 1 lemon
1 tbsp fresh rosemary finely chopped
1 egg yolk
1/2 cup pine nuts toasted
Heat the stock. In a separate heavy saucepan saute the celery, shallots and garlic in the olive oil and butter on medium high heat until softened - approximately 5 minutes. Add the aborio rice and cook until the rice begins to turn transluscent, stirring continuously. Add the wine and cook just until the alcohol evaporates. Add salt and pepper. Now begin adding the stock one ladleful at a time (a ladle is about 1/4 cup). Make sure the heat is set so you are getting a strong simmer, but not cooking into the rice too quickly. Stir continuously as you add each ladle of stock and do not add more until each one is absorbed into the rice, but not completely. This should take approximately 25-30 minutes. At the 20 minute mark, start testing the rice for 'doneness'. It should be al dente, not chewy, but not too soft. Keep in mind that it continues to cook once off the heat, so make sure it's slightly soupy (not runny, just like thick soup). Turn heat to low and add the rosemary, lemon zest, marscapone and parmesean cheese. Stir just until combined. In a separate bowl combine the lemon juice and egg yolk and stir into the rice to complete. Garnish with toasted pine nuts. Now take comfort in the fact that you just made a perfect risotto!
posted by Mrs. Moore @ 9:05 PM
2 comments
![]()
![]()